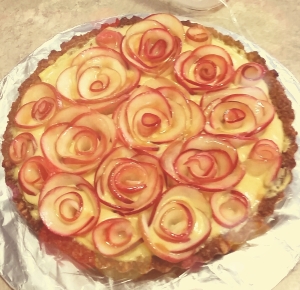
During the holidays, we were invited to a new friend’s house. I know she used to bake a lot until she had her little bundle of joy, so I wanted to bring something that was extra special. It then struck me that I came across a beautiful apple tart a month or so back. The pictures were stunning. It definitely was a show stopper centre piece of a dessert.
This beautiful tart recipe is from the Hip Foodie Mom (the recipe belong to Hip Foodie Mom’s blog. The opinions and review are solely my own)
Apple Walnut Tart with Maple Custard
Your Guests will be Wowed by this Gorgeous Apple Tart of Roses, with a Toasty Walnut Crust and a Silky Sweet Maple Custard Filling. And it’s Gluten Free!
Author: Allie, Baking A Moment
Recipe type: Dessert
Serves: 10
Ingredients
For the Walnut Crust:
- 2½ cups walnut pieces (don’t waste your money on halves)
- 4 tablespoons unsalted butter, melted
- 2 tablespoons granulated sugar
- 1 egg white
- ¼ teaspoon kosher salt
For the Custard:
- 1½ cups milk (I used 1%)
- 6 egg yolks
- ½ cup pure maple syrup
- ¼ cup cornstarch
- ½ teaspoon kosher salt
- 1 teaspoon vanilla extract
Additionally:
- 2 apples (Macoun – I used different ones), quartered, cored, and thinly sliced – keep in lemon water until ready to use)
- juice of a lemon
- ¼ cup apricot jam, warmed (optional)
Instructions
For the Crust:
- Preheat the oven to 400 degrees F.
- In a food processor or chopper, pulse the walnuts until the are finely chopped, and the pieces are about the size of breadcrumbs.
- Place the chopped nuts in a large bowl and add the remaining ingredients, tossing together with a fork.
- Press the mixture evenly over the bottom and up the sides of a 9-inch tart pan with a removable bottom.
- Bake for 15 minutes.
For the Custard:
- Pour the milk into a small pot and place over medium heat until small bubbles form around the edges.
- In a medium mixing bowl, whisk the egg yolks with the maple syrup, cornstarch, and salt.
- Slowly pour the hot milk over the egg mixture, while whisking, to warm the eggs.
- Place the mixture back into the pot and place over low heat. Cook, stirring constantly, until the mixture comes to a bubble and becomes very thick.
- Stir in the vanilla and transfer to a heat safe container. Lay plastic wrap over the surface. Chill for 2 hours.
Assemble the Tart:
- Spread the maple custard in the walnut tart shell.
- Warm the apple slices in the microwave until pliable.
- Roll a slice of apple into a tight spiral and stand it up vertically in the custard. Continue to arrange apple slices in a concentric pattern, around the first one, building a rose pattern.
- Warm the apricot jam, and thin it with lemon juice. Brush this glaze over the apples, for shine and to prevent browning (optional).
_________________________________________________________________
With regards to this recipe, I have tweaked it a little here and there. I made the crust and the custard the day before; chilled in the fridge separately and not assembled. When I tried to spread the custard onto the tart, it felt a bit thick to assemble the slices of apples and also, I didn’t quite like the flavour. What I ended up doing was putting the custard into the mixer, threw in a teaspoon of cinnamon, and gave it a quick whip. Apart from the custard, hand slicing all my apples (apparently I left my mandolin at mom’s), using red Macintosh Apples, and Hickory Farm’s Cinnamon Apple Jam, I followed to the T.
2 1/2 cups of walnut pieces in the Vitamix dry container:
After the walnut pieces have been chopped:
After mixing in the butter,sugar, egg white, and salt into the grounded walnut pieces:
Pressed crust mixture before baking:
Crust after baking:

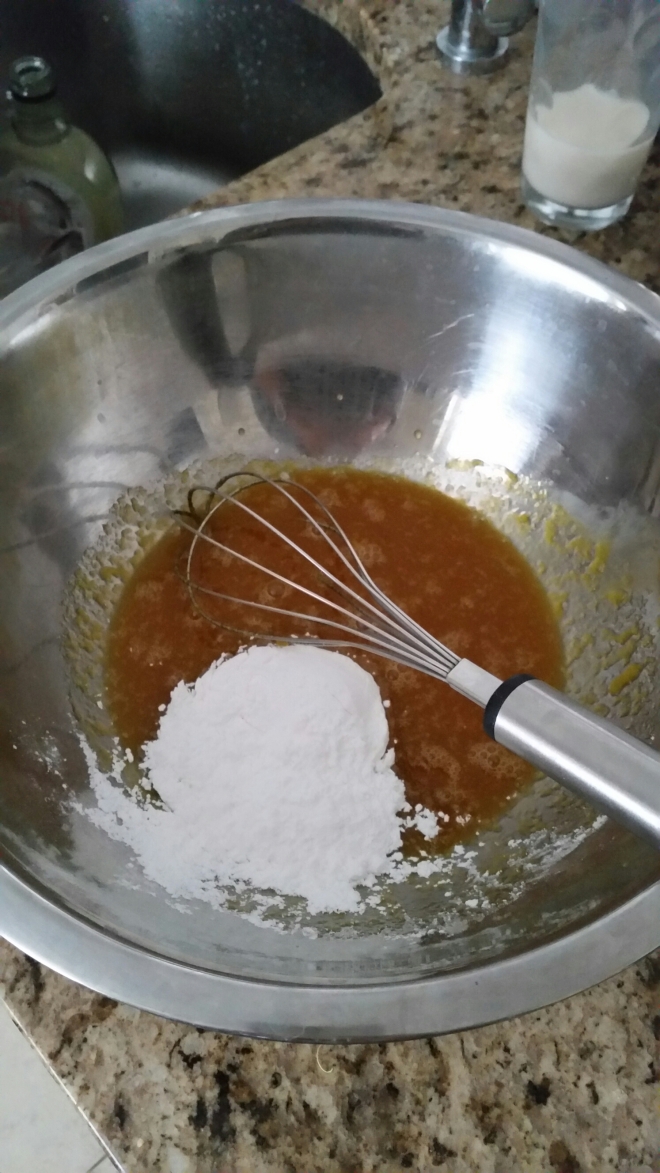
Starting the custard (egg yokes, maple syrup, corn startch, and salt):
After mixing the ingredients together (I got a thick layer of bubbles on top):
Putting the custard on the stoe (as it slowly heated I added the cinnamon for extra flavour – second time I made it):
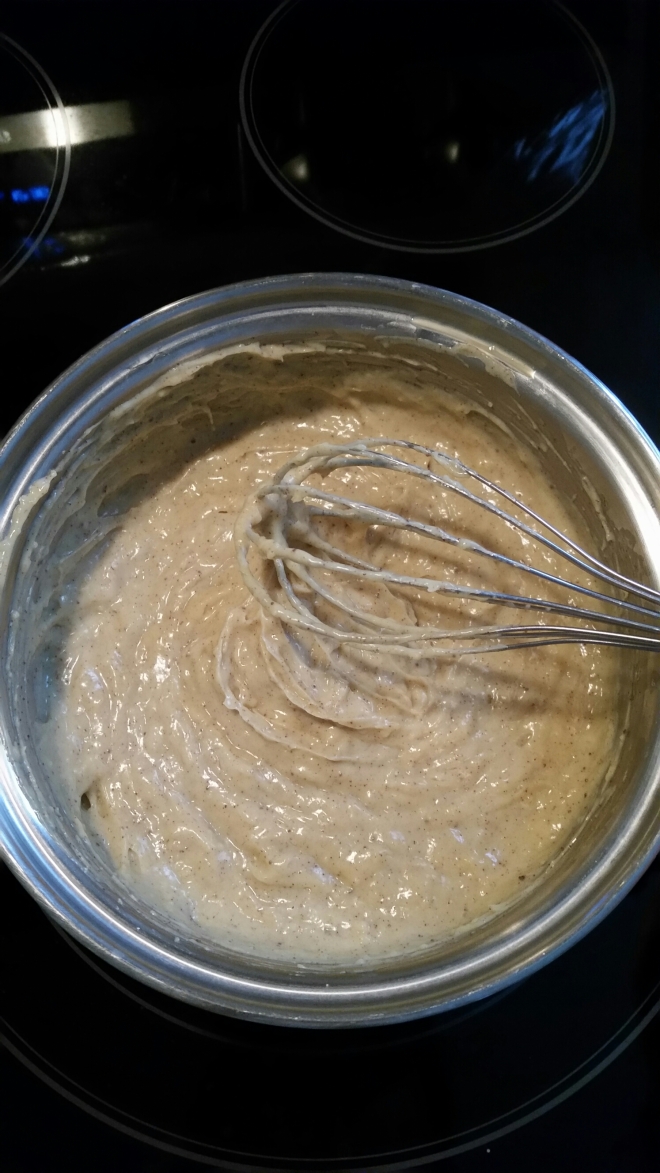
This is what it looked like thicked:
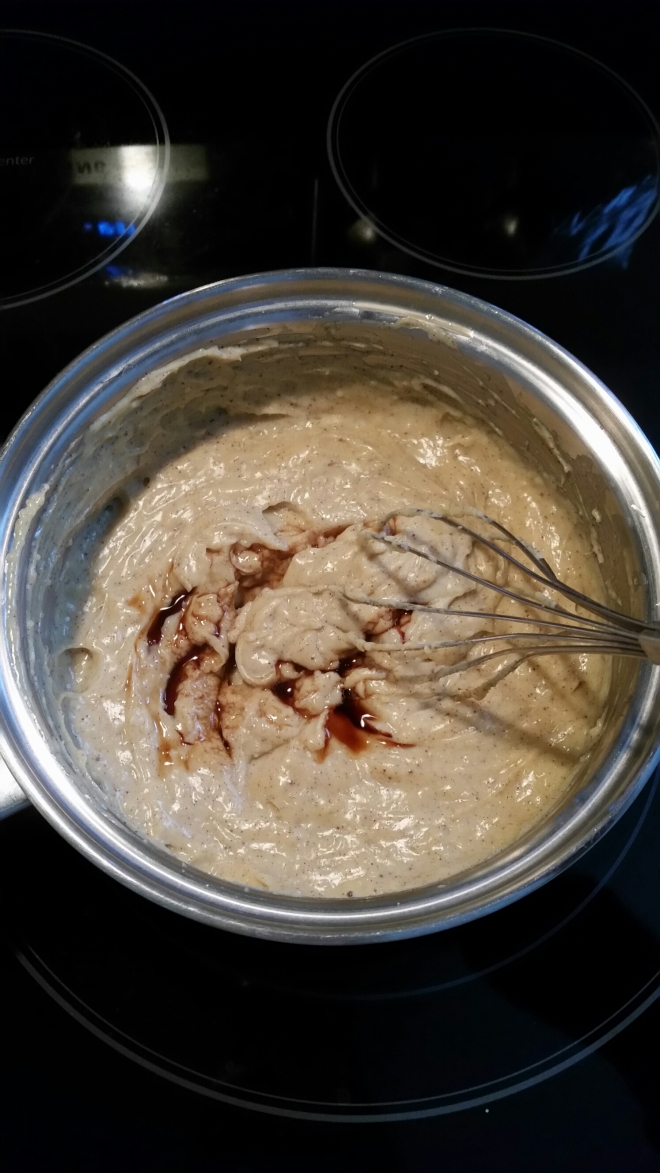
Adding in vanilla:
(I did have to cream the custard the next day adding a bit of milk as it was too thick, but I didn’t take a picture of that, sorry)
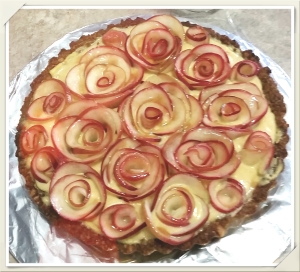
And after everything was assembled:
Variation of assembly:
Yes. The shell was very simple. I bought chopped walnuts and threw them into my Vita Mix and gave them a few twirls and they were done. For the custard, it’s a pretty standard custard mixture, with a few small tweaks afterwards. For the assembly, I know it looks like a lot of work, but it actually wasn’t. I think the one thing I spent the most time on was slicing the apples, but it could’ve been avoided with a mandolin. Check out Hip Foodie Mom’s blog (link above) to see the professional pictures:)
How’d they turn out?
As you can see in my picture, it turned out around 95% of what Allie (guest blogger for Hip Foodie Mom) looks like. In terms of taste and texture, my friends had no complaints. Actually it was gobbled up pretty quickly and everyone was very impressed. I liked the hint of maple syrup mixed with cinnamon in the custard a lot better than the recipe originally. It gave the custard a needed kick so it wasn’t just sweet and creamy.
Timing?
Let’s see. The crust from start to finish, not including chilling time was about 25 mins. The custard took about 15-20 mins. Slicing apples, I lost track of time, lol. I think if you had the items made the night before and then sliced and assembled the day of, it really wouldn’t take that much time. The prep of slicing (with a mandolin), microwaving, assembling, and glazing would probably be about 1/2 hr.
Overall?
I like it! It is a beautiful tart and it would be the center of attention. The looks was as good as the taste. I mean, sometimes we eat with our eyes too right? I loved how creamy and smooth the custard was and with the added cinnamon, it really brought out the maple syrup flavour to not just be sweet. I received lots of compliments and it really wasn’t as hard as it looks. Would I do it again? Yes!
Hip Foodie Mom’s Apple Walnut Tart with Maple Custard, you’re YOL Approved!
